Usually, when you want to A/B a plugin, it’s just a before and after thing, with or without the plugin, right? But what about about a comparison between settings?
You guessed it… There’s a cool function inside Pro Tools that lets you to just that!
It’s allows us to A/B from one setting to another setting at the push of a button! Pretty handy right? Here’s how it works…
Dial In And Save Your Settings
Start by firing up a plugin on one of your free inserts; then mess a bit with the settings until you’re happy or just select a factory preset… Next in line you’ll need to save those current settings as a new preset.
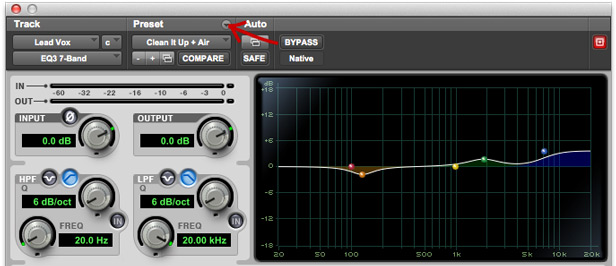
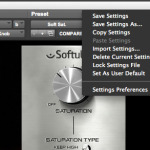
Just in case you don’t know, you can do so by clicking on the tiny downward arrow right above the preset’s dropdown menu or, more quickly, with the keyboard shortcut Cmd+Shift+S (or Ctrl+Shift+S if you’re on a PC).
Note: this won’t be necessary if you picked a preset and haven’t changed it.
The Compare Button
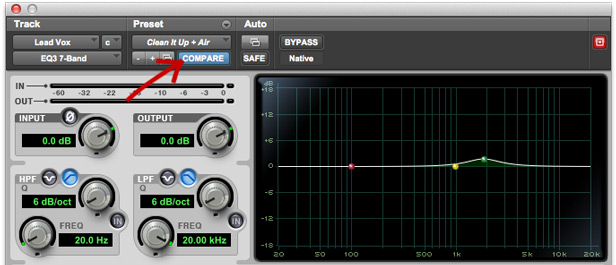
Almost done…Once the settings have been saved, and as soon as you’ll start changing them again, you’ll notice the Compare button will light up blue. And you can now toggle between the settings you saved as a preset before and your new settings by just pressing it!
Note: When the Compare button is light blue, you’re looking at your new settings.
Keep What Works Best
So there you have it! Another quick trick to a better mixing workflow!
The Compare function is often underrated by people, but I think it could be really useful for hearing less or more subtle differences going back and forth between 2 different plugin settings in a matter of a click and being sure we’re making the best choices for our song!
–
Make sure to check the other segments of Pro Tools Diary to get the best out of this awesome DAW!

